Setelah sebelumnya telah membahas terkait cara load balancing web dengan HAProxy dan Apache, pada artikel ini akan dibahas cara lain melakukan load balancing dengan NGINX.
NGINX sendiri adalah salah satu web server populer yang juga berfungsi sebagai reverse proxy, load balancer, dan HTTP cache. Artikel ini akan membahas dasar-dasar NGINX, konfigurasi dasar, serta implementasi fungsionalitas seperti proxying, load balancing, dan keamanan.
Langkah-langkah membuat load balancing dengan NGINX
1. Persiapan server
Gunakan 3 server / VM yang saling terkoneksi, misalnya:
- VM-1 : 192.168.1.12 (sebagai server NGINX Proxy)
- VM-2 : 192.168.1.13 (sebagai node web server 1)
- VM-3 : 192.168.1.14 (sebagai node web server 2)
2. Konfigurasi VM Node (web server 1 dan 2)
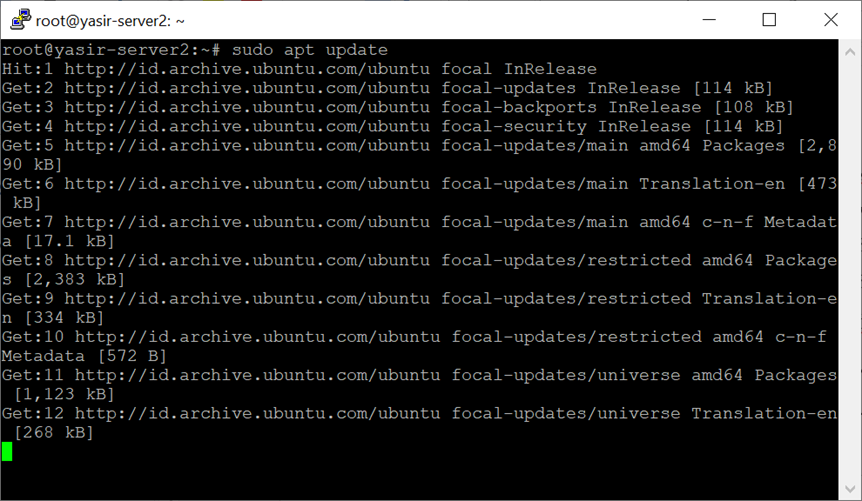
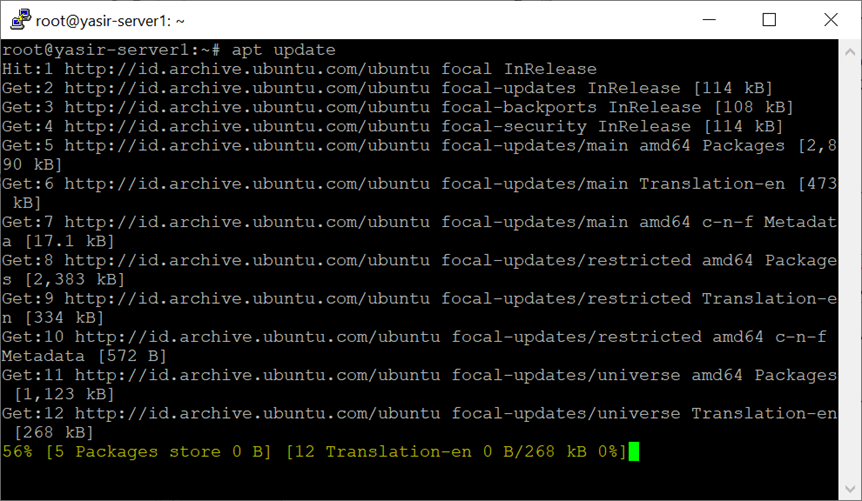
2.1. Sebelum melakukan instalasi NGINX terlebih dahulu update repository ubuntu, dengan cara: > sudo apt update
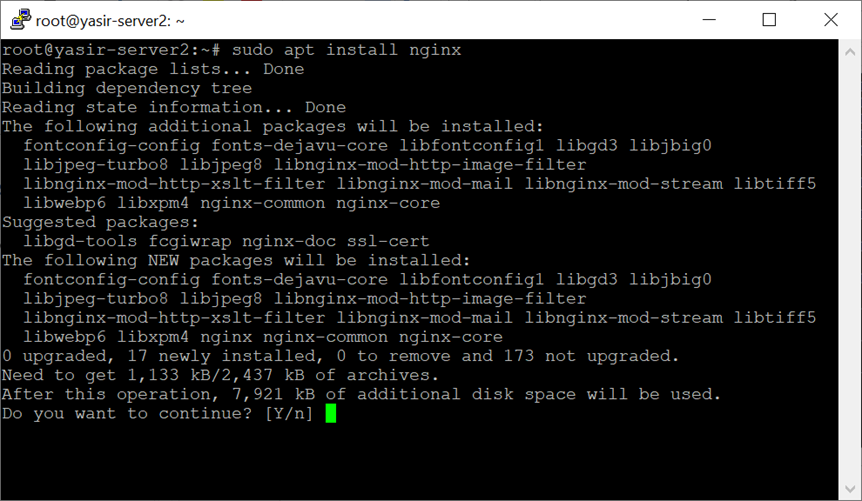
2.2 Selanjutnya lakukan instalsi NGNIX dengan perintah > sudo apt install nginx
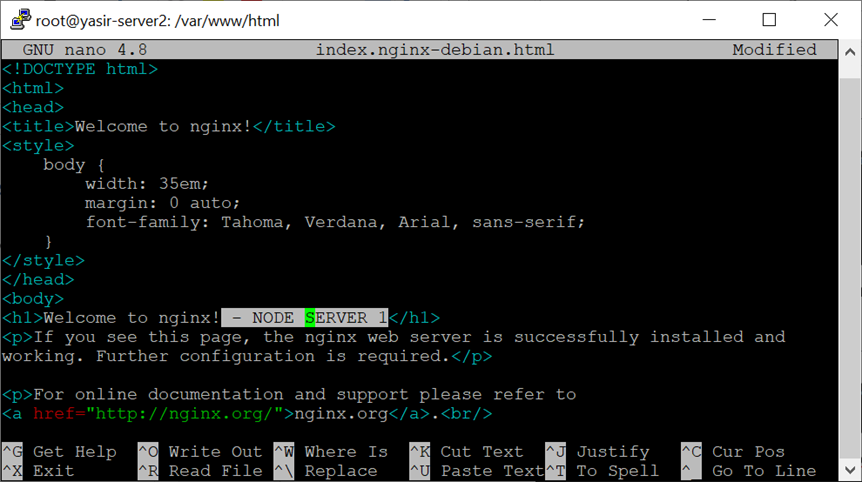
2.3 Setelah proses instalasi NGINX selesai, buka dir html dengan cara > cd /var/www/html/

2.4 Edit halaman index.nginx-debian.html: > sudo nano index.nginx-debian.html

2.5 Tambahkan Server 1 atau Server 2 pada bagian <h1>:
…
<h1>Welcome to nginx – Node Server 1</h1>
…
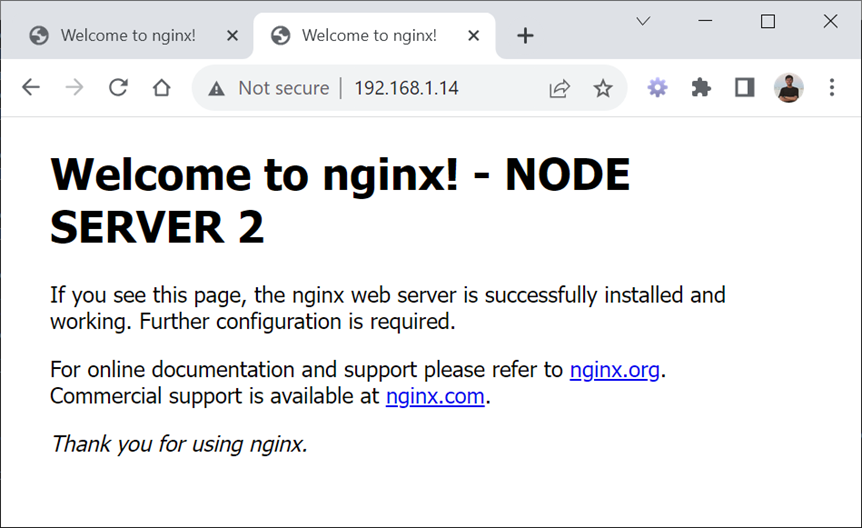
2.6 Coba akses IP masing-masing server, contoh : http://192.168.1.13

Konfigurasi yang sama untuk VM3 / Node Web Server 2:
3. Konfigurasi NGINX Proxy Server (untuk VM-1)
3.1 Sebelum melakukan instalasi NGINX terlebih dahulu update repository ubuntu, dengan cara: > sudo apt update
3.2 Selanjutnya lakukan instalsi NGNIX dengan perintah > sudo apt install nginx

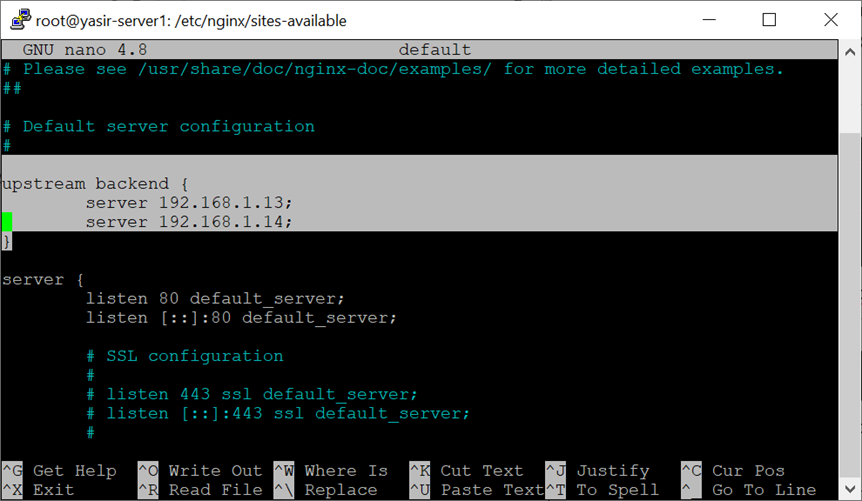
3.3 Masuk ke directory sites NGINX > cd /etc/nginx/sites-available/

3.4 Setelah itu, edit file default > sudo nano default

3.5 Tambahkan konfigurasi upstream backend, dan save:
…
upstream backend {
   server 192.168.1.13;
   server 192.168.1.14;
}
…
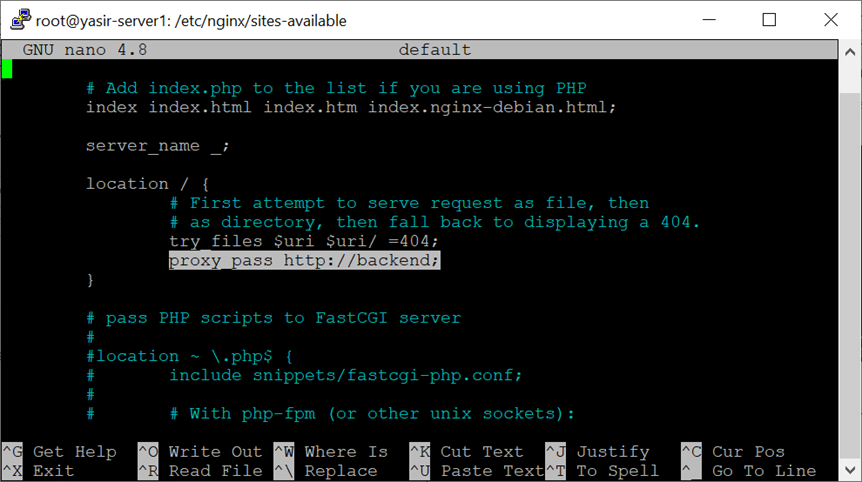
Dan
…
proxy_pass http://backend;
…
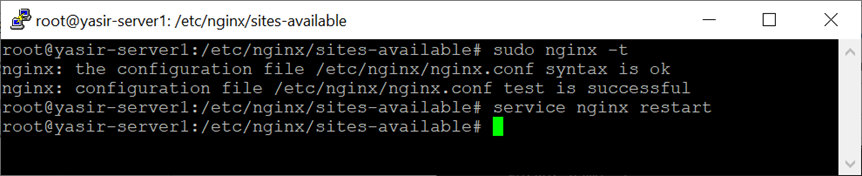
3.6 Restrat server NGINX: > service nginx restart
3.7 Akses IP server 1 / NGINX Proxy, contoh: http://192.168.1.12
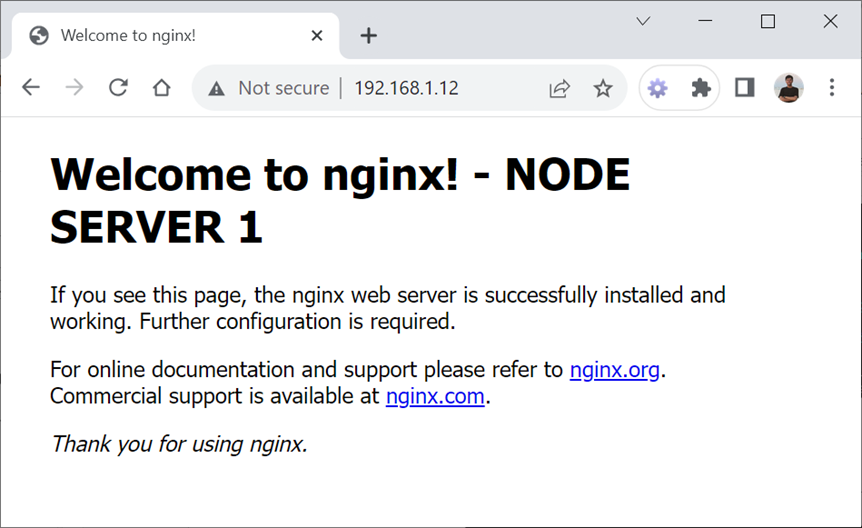
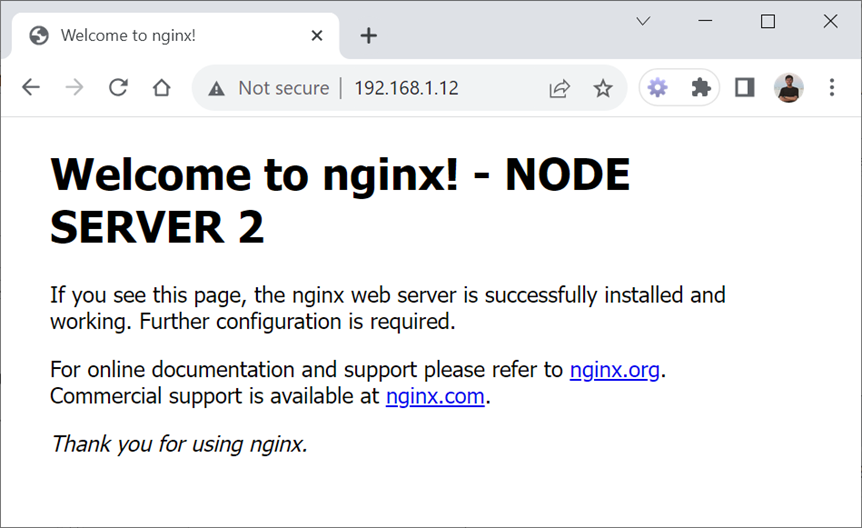
Dari gambar di atas terlihat jika IP server load balancing diakses, maka tampilan web dapat bersumber dari node server web 1 atau node server web 2.
Artikel ini di dukung oleh: Bukamaps.com